Garlic Aioli for Fries
Highlighted under: Golden Crust & Sweet Cravings
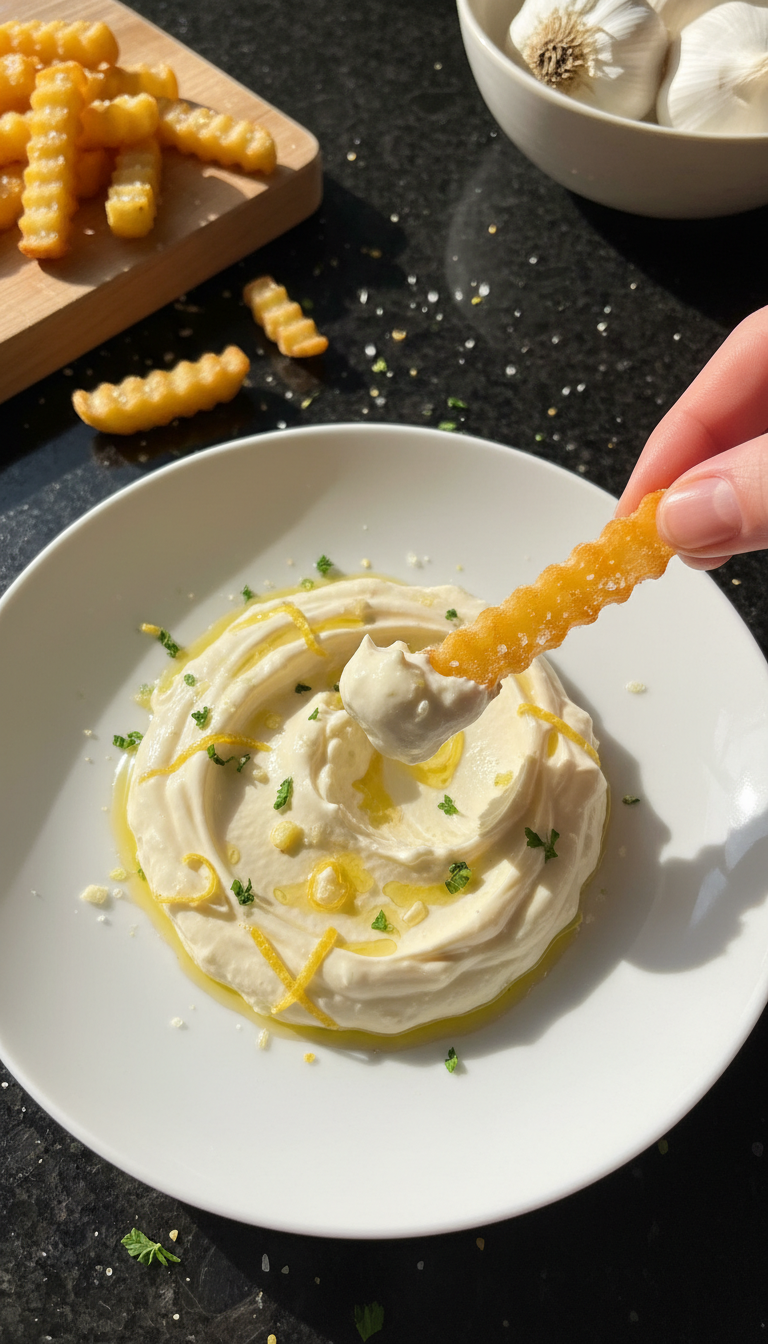
I absolutely love making garlic aioli to accompany my fries. This creamy, garlicky dip elevates any potato dish to gourmet status. The best part is how simple it is to whip up at home. With just a few ingredients, I can create a sauce that packs a punch in flavor. Perfect for parties or a cozy movie night, this aioli is not just a dip; it’s a game changer. I often find myself preparing a double batch because it's that good!

When I first tried making garlic aioli, I was amazed at how quickly it came together and how fresh it tasted. The key is using quality ingredients; for instance, fresh garlic makes a world of difference. I also love to customize it with a little lemon juice for brightness. I’ve used this aioli with everything from sweet potato fries to veggie sticks, and it never disappoints!
One trick I learned is to use an immersion blender, which creates a super smooth texture without any lumps. It’s effortless and produces a restaurant-quality result. Trust me, once you serve this aioli next to your fries, it will become a beloved staple in your home!
Why You'll Love This Recipe
- Creamy, garlicky flavor that’s addictive
- Perfect for dipping or drizzling over dishes
- Quick and easy to make with minimal ingredients
Quality of Ingredients
The quality of your mayonnaise is critical in this garlic aioli. Using a high-quality, full-fat mayonnaise creates a richer and creamier texture, enhancing the overall flavor of the dip. If you're feeling adventurous, you can swap store-bought mayonnaise for homemade. Just whip together egg yolks, mustard, and oil until emulsified for a fresher taste.
Garlic is the star of this recipe, and fresh, good-quality garlic will make a noticeable difference. Mince your garlic finely to release the maximum flavor and aroma, which beautifully permeates the aioli. If you prefer a milder taste, consider roasting the garlic first until soft and sweet before adding it to the mixture.
Chilling for Flavor Enhancement
Allowing the aioli to chill in the refrigerator is more than just a cooling step; it's essential for flavor development. The chilling process allows the garlic to infuse into the mayonnaise, resulting in a more well-rounded and harmonious taste. Aim for at least 10 minutes of chilling, but if you have the time, letting it sit for an hour will yield even better flavor.
When ready to serve, give your aioli a quick stir. This not only restores the texture after chilling but also ensures all the ingredients are well-mixed for the best flavor in every bite. If you've prepared this ahead of time, make sure to keep it covered in the fridge to prevent drying out.
Serving Suggestions
This garlic aioli isn't just for fries—it's incredibly versatile! Consider serving it with grilled vegetables, seafood like shrimp or grilled fish, or as a spread on sandwiches. Its creamy texture complements savory dishes well while adding a pop of flavor.
For a touch of variety, try mixing in additional ingredients such as chopped herbs like parsley or dill, or even a dash of smoked paprika for a smoky flavor. These variations can elevate your aioli depending on the meal you're serving it with and can be made quickly without any additional preparation.
Ingredients
Gather the following ingredients to get started on your garlic aioli.
Ingredients
- 1 cup mayonnaise
- 2-3 cloves garlic, minced
- 1 tablespoon lemon juice
- 1 teaspoon Dijon mustard
- Salt and pepper to taste
- 1 tablespoon olive oil (optional)
Once you have your ingredients ready, let’s move on to the next step!
Instructions
Follow these simple steps to make your garlic aioli.
Combine Ingredients
In a medium bowl, mix together the mayonnaise, minced garlic, lemon juice, and Dijon mustard. Stir until well combined.
Season
Taste the mixture and season with salt and pepper. If you want a richer flavor, you can drizzle in the olive oil while stirring.
Chill
Let the aioli chill in the refrigerator for at least 10 minutes to allow the flavors to meld before serving.
Your garlic aioli is now ready to serve alongside your favorite fries!
Pro Tips
- For an extra kick, try adding a dash of hot sauce or a sprinkle of smoked paprika to the aioli.
Troubleshooting Tips
If your aioli ends up too thick, you can easily adjust the consistency by whisking in a small amount of water or additional lemon juice until you reach your desired texture. A thin consistency should still hold its shape but be easy enough to scoop and spread.
Conversely, if your aioli is too thin, adding a little extra mayonnaise can help thicken it up. Alternatively, for a more intense flavor boost, you can incorporate more minced garlic—just remember, garlic flavor intensifies, so add it gradually to avoid overpowering the dip.
Make-Ahead and Storage
Garlic aioli can be made a day in advance, which is ideal for meal prep. Store your aioli in an airtight container in the fridge. This not only saves you time but also gives the flavors a chance to deepen as they meld overnight.
The aioli should be consumed within one week for optimal flavor and freshness. If you know you won't use it all in time, consider freezing small portions in ice cube trays. These can be thawed as needed for quick dips or spreads.
Questions About Recipes
→ Can I use yogurt instead of mayonnaise?
Yes, you can substitute Greek yogurt for a lighter version of aioli.
→ How long can I store the aioli?
Homemade garlic aioli can be stored in an airtight container in the refrigerator for up to one week.
→ Can I add other herbs to this recipe?
Absolutely! Fresh herbs like parsley or basil can be added for additional flavor.
→ Is this recipe vegan?
You can make it vegan by using a plant-based mayonnaise.
Garlic Aioli for Fries
I absolutely love making garlic aioli to accompany my fries. This creamy, garlicky dip elevates any potato dish to gourmet status. The best part is how simple it is to whip up at home. With just a few ingredients, I can create a sauce that packs a punch in flavor. Perfect for parties or a cozy movie night, this aioli is not just a dip; it’s a game changer. I often find myself preparing a double batch because it's that good!
Created by: Sandra
Recipe Type: Golden Crust & Sweet Cravings
Skill Level: Easy
Final Quantity: Serves 4
What You'll Need
Ingredients
- 1 cup mayonnaise
- 2-3 cloves garlic, minced
- 1 tablespoon lemon juice
- 1 teaspoon Dijon mustard
- Salt and pepper to taste
- 1 tablespoon olive oil (optional)
How-To Steps
In a medium bowl, mix together the mayonnaise, minced garlic, lemon juice, and Dijon mustard. Stir until well combined.
Taste the mixture and season with salt and pepper. If you want a richer flavor, you can drizzle in the olive oil while stirring.
Let the aioli chill in the refrigerator for at least 10 minutes to allow the flavors to meld before serving.
Extra Tips
- For an extra kick, try adding a dash of hot sauce or a sprinkle of smoked paprika to the aioli.
Nutritional Breakdown (Per Serving)
- Calories: 220 kcal
- Total Fat: 22g
- Saturated Fat: 3g
- Cholesterol: 10mg
- Sodium: 200mg
- Total Carbohydrates: 2g
- Dietary Fiber: 0g
- Sugars: 1g
- Protein: 2g